
Storm Doors
Our Storm doors are designed to operate all year around; they conserve warmth in the winter and circulate air in the summer saving you on energy bills.
Storm doors are an essential part of any house because they provide both protection and convenience. Storm doors normally have exchangeable glass panels and window screen panels which provide visibility and prevent flying insects from entering the home.
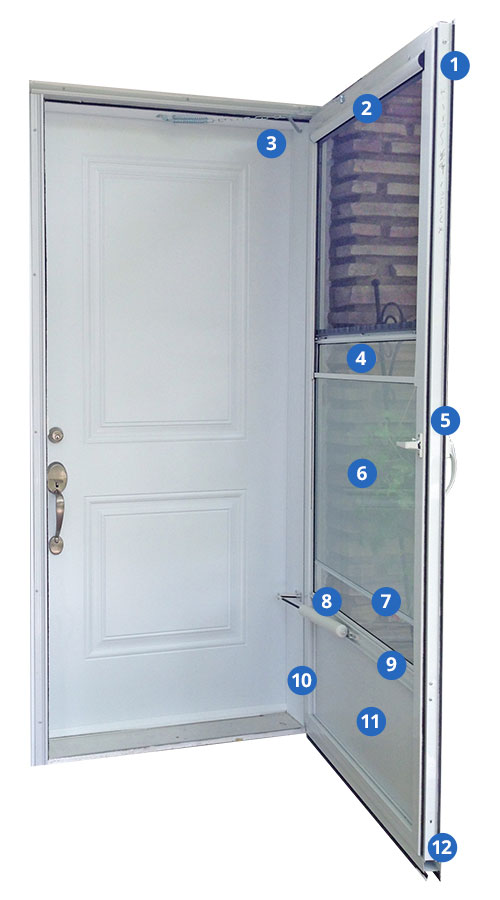
Storm Doors Features
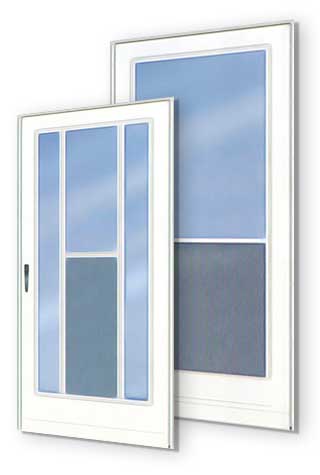
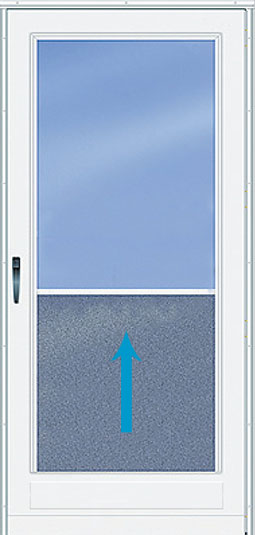
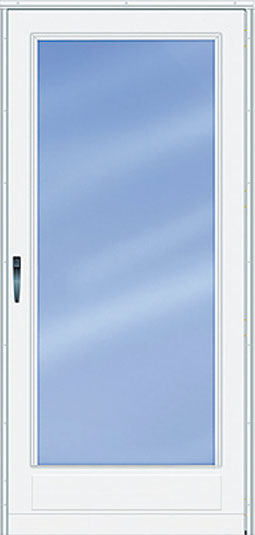
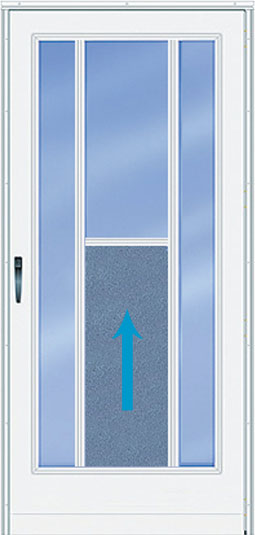
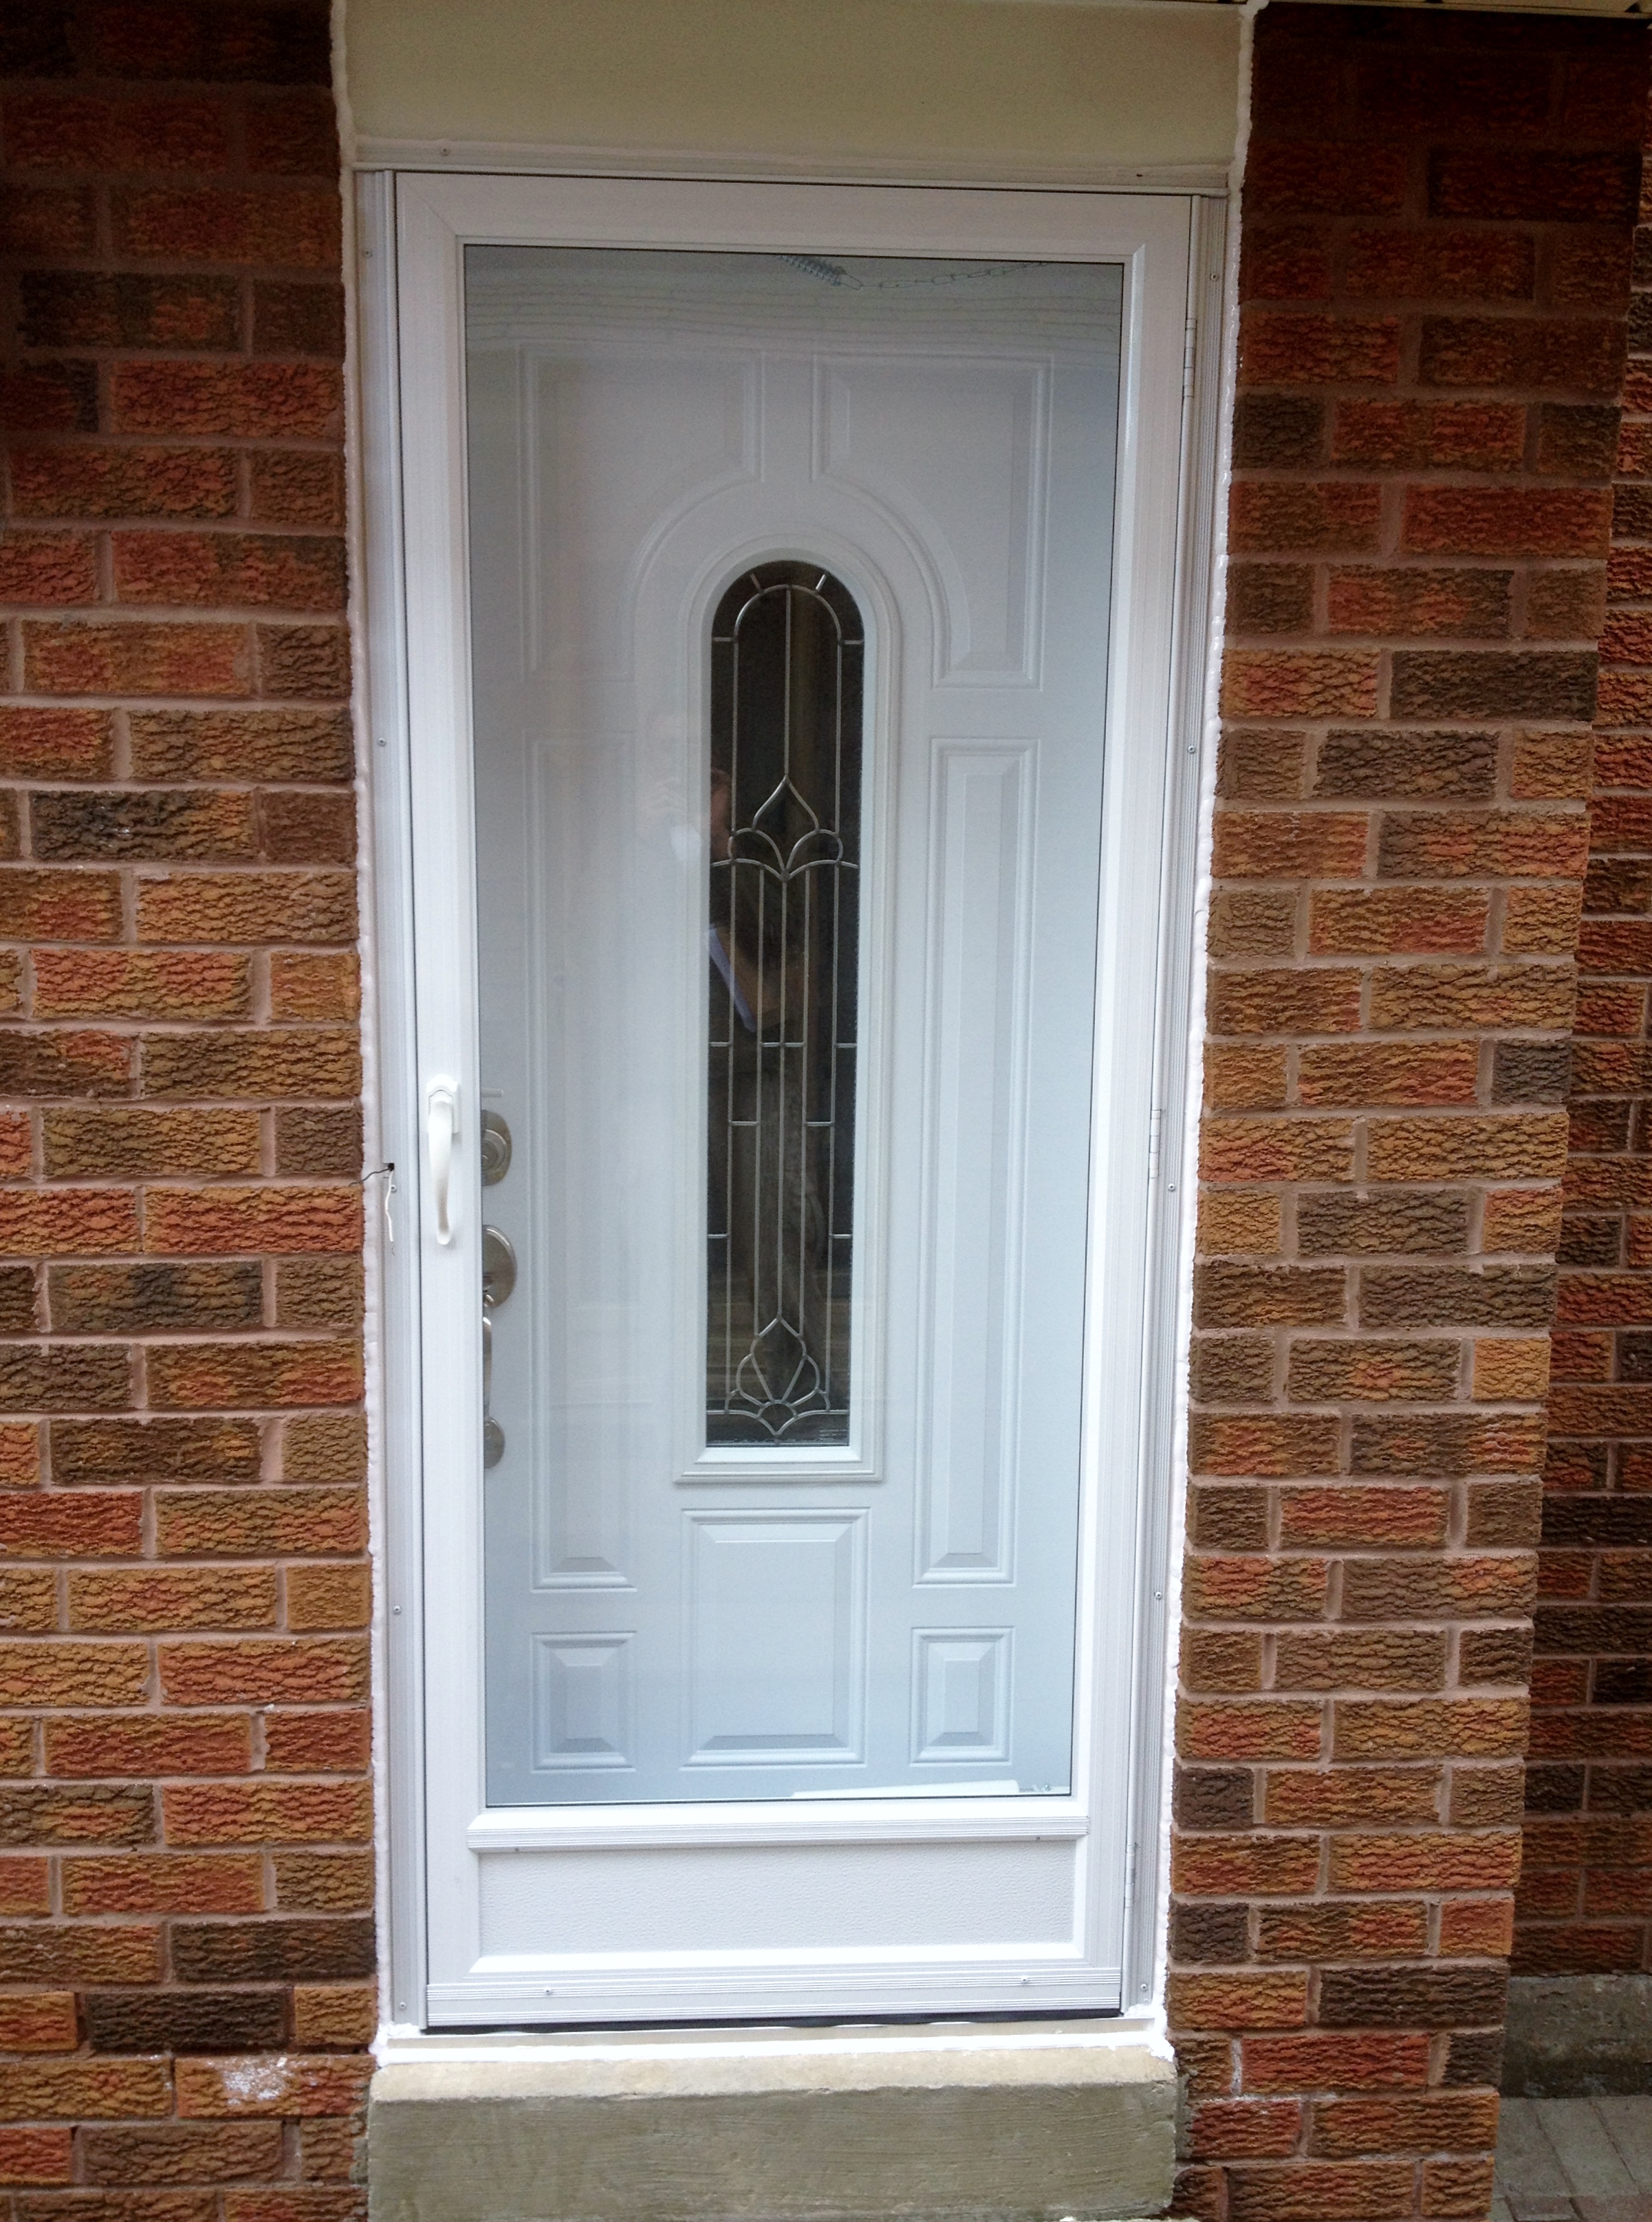
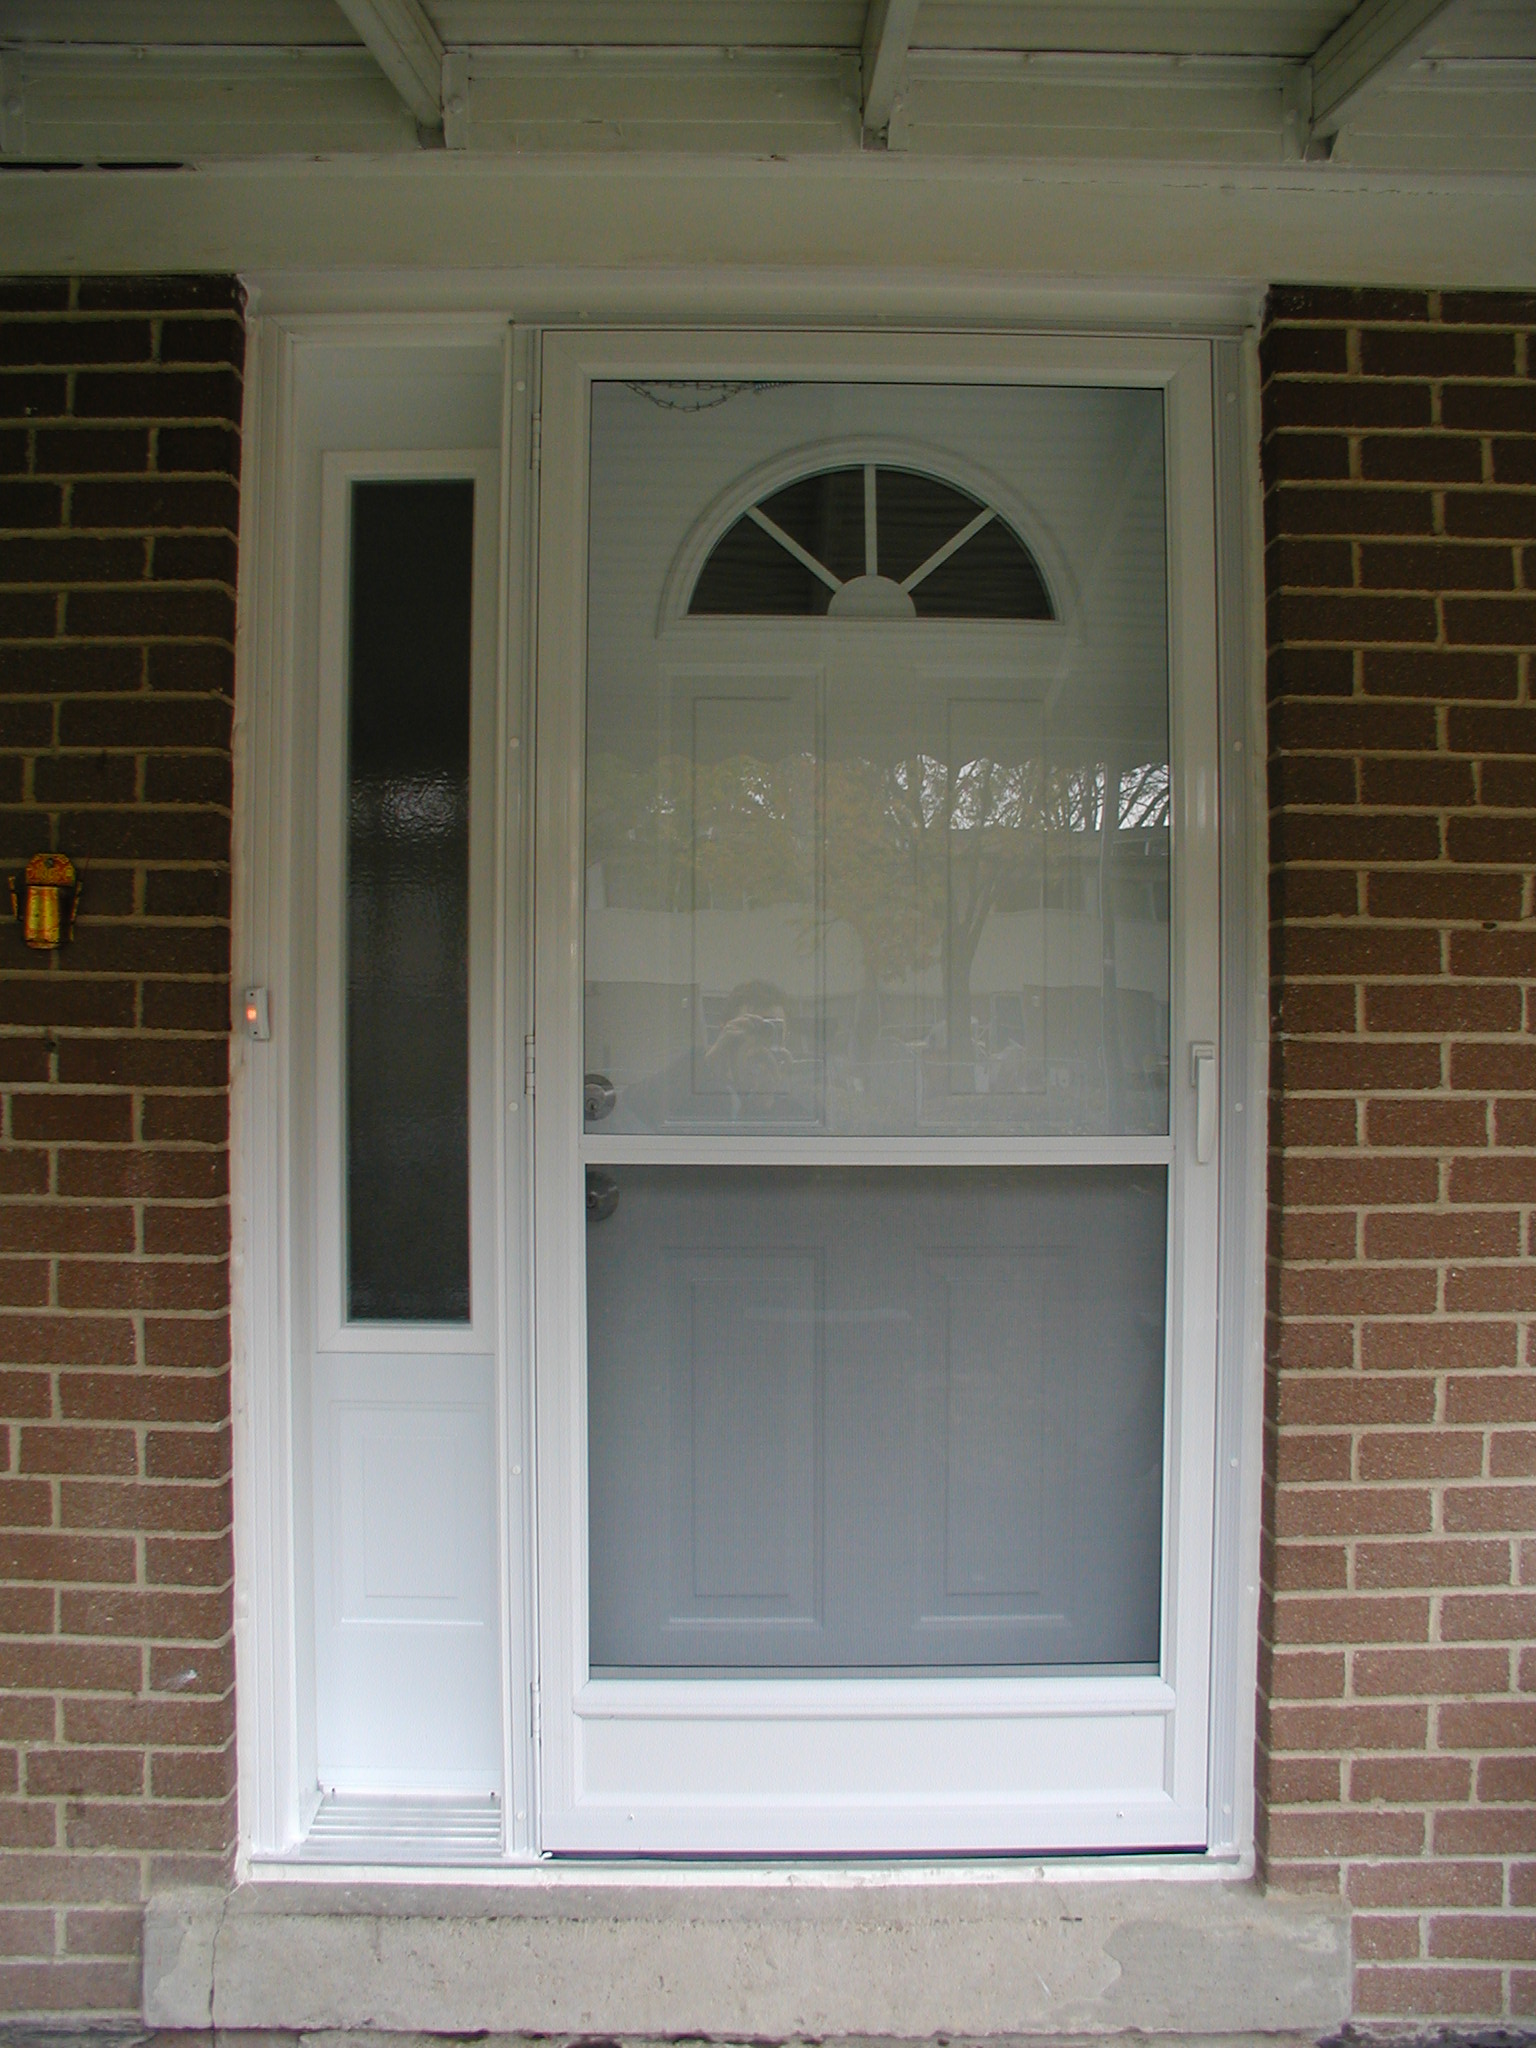
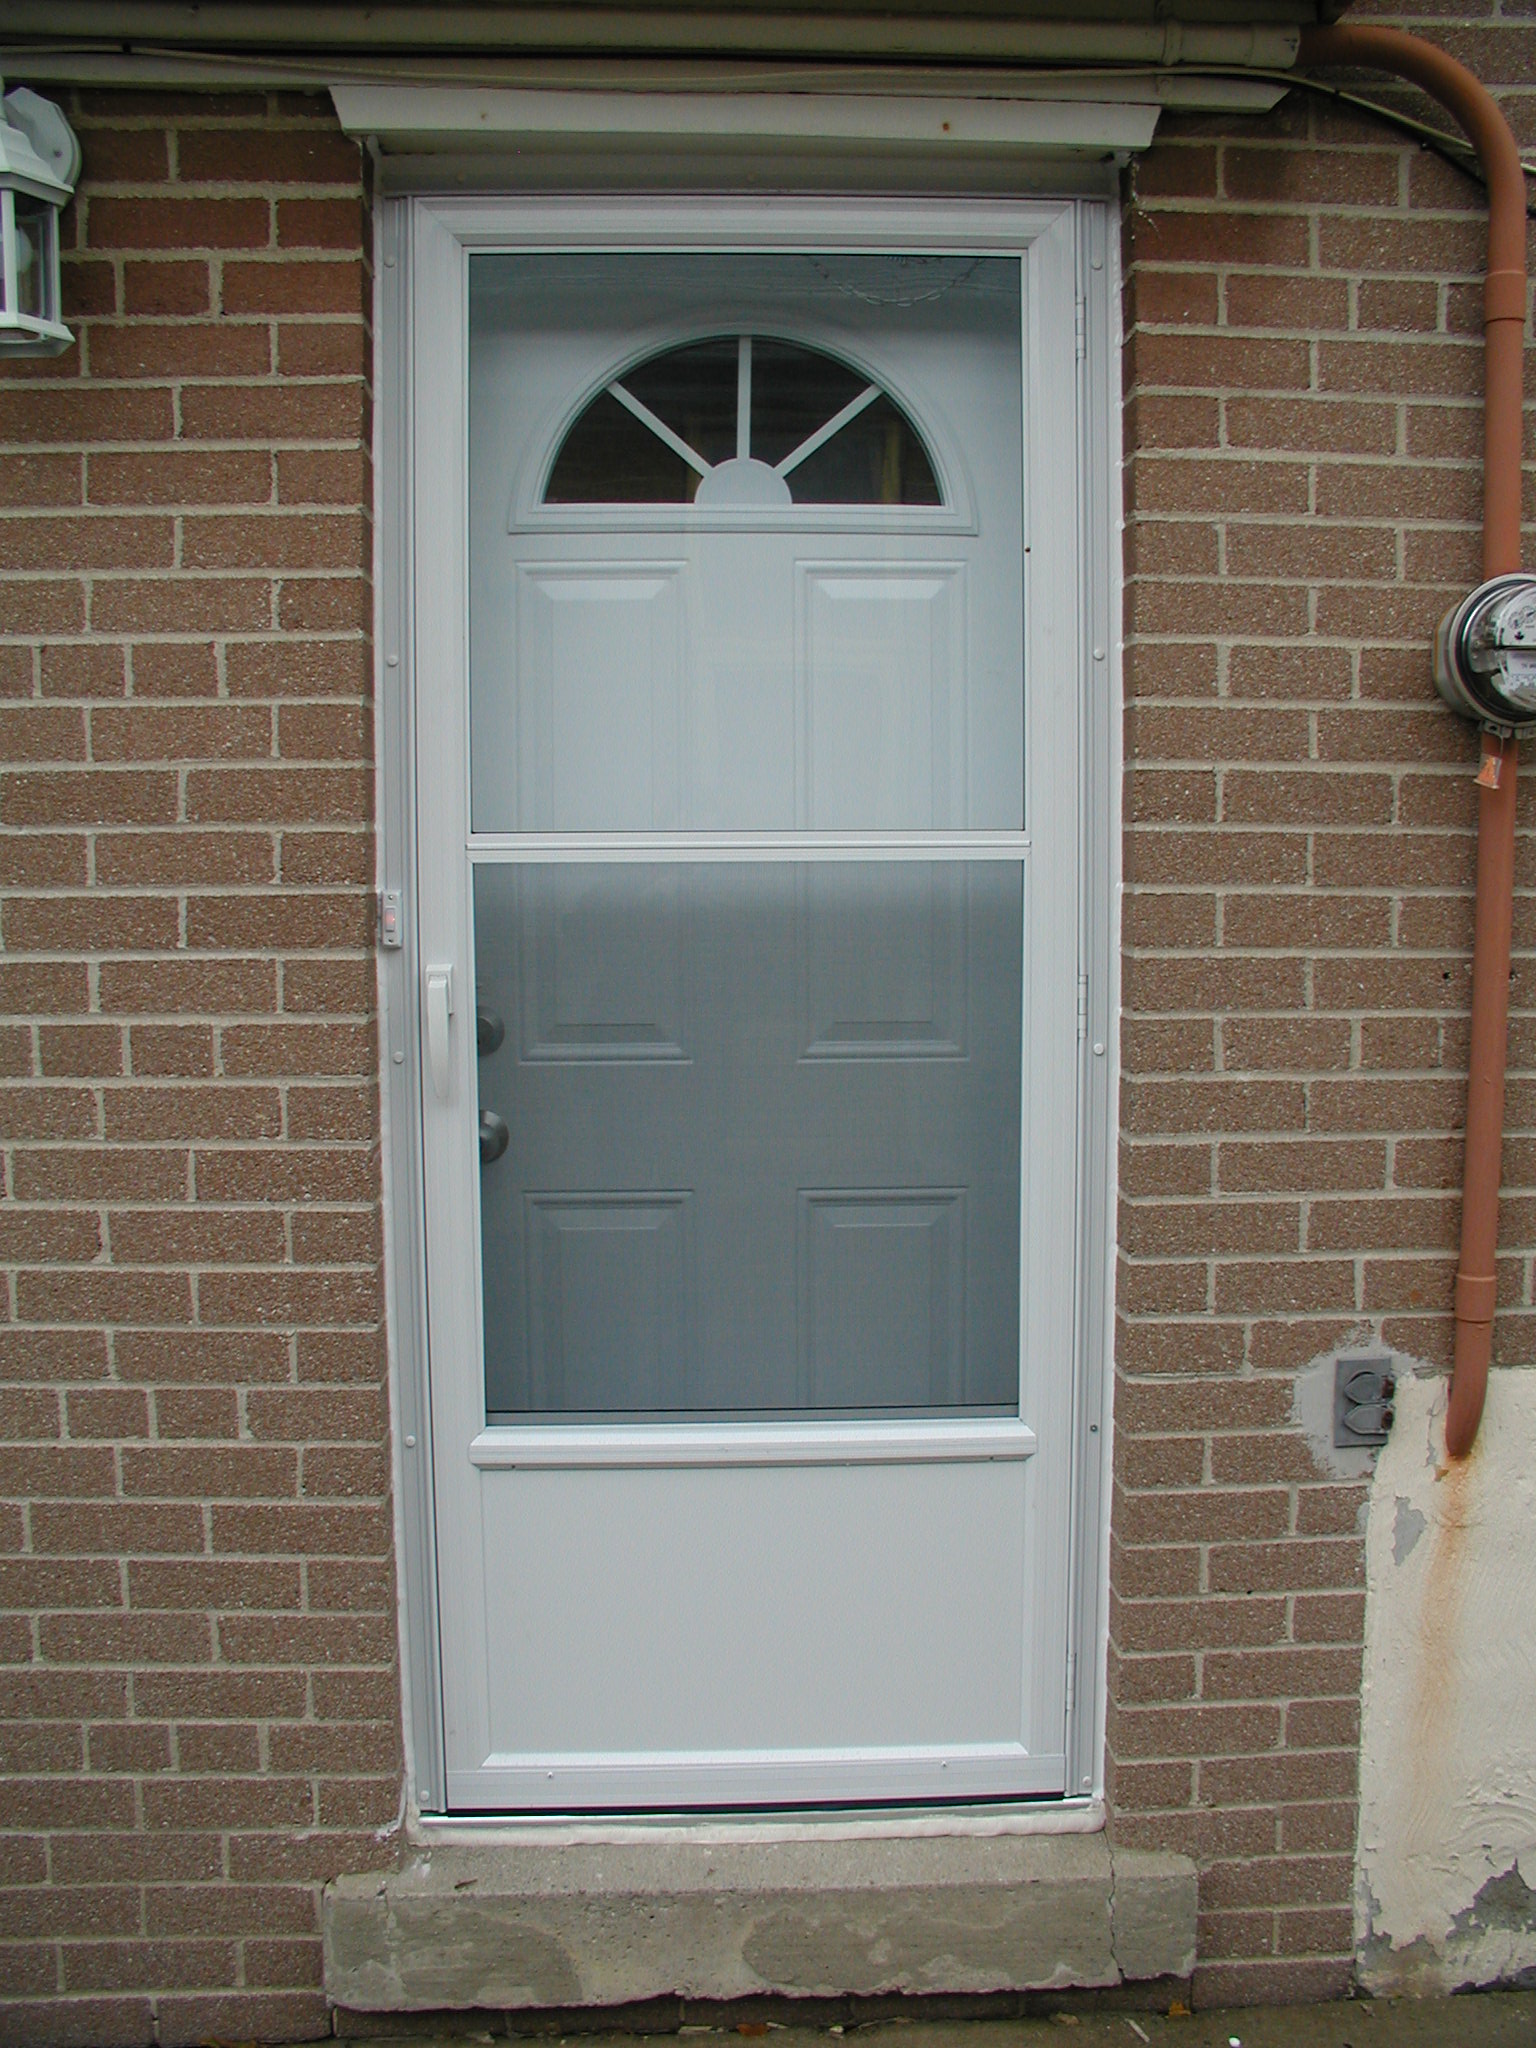
Storm Door Styles
These are the available door styles. Click each image for larger view.


Color Options
Glass Options
The glass options below are availabe for One Lite Storm Doors and Porch Enclosures.

Hardware
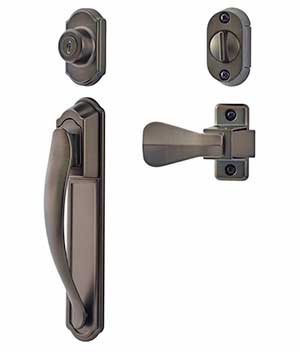
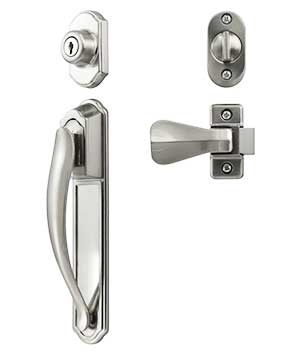
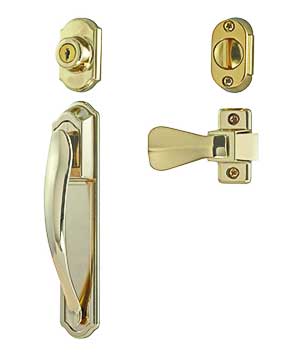
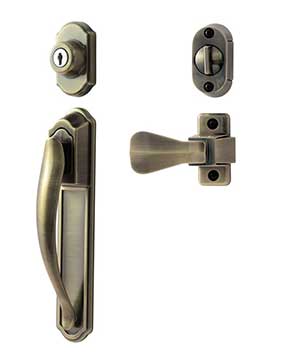
Pull Handles with Key Lock & Deadbolt
A variety of pull handles are available to choose to match your storm door.


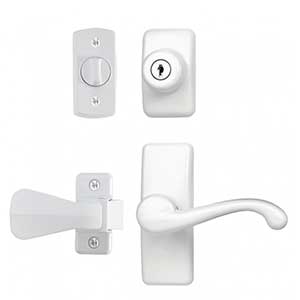
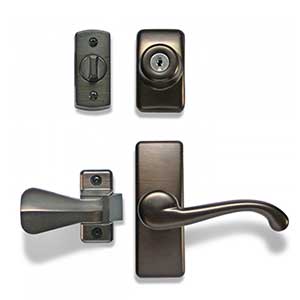
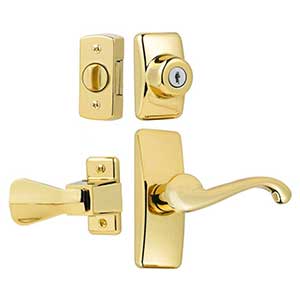
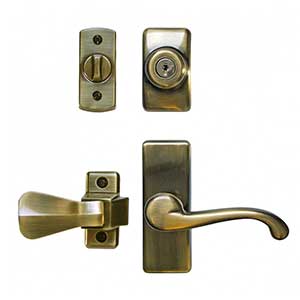
Level Handles with Key Lock & Deadbolt


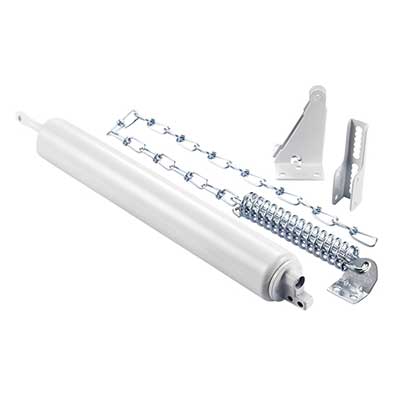
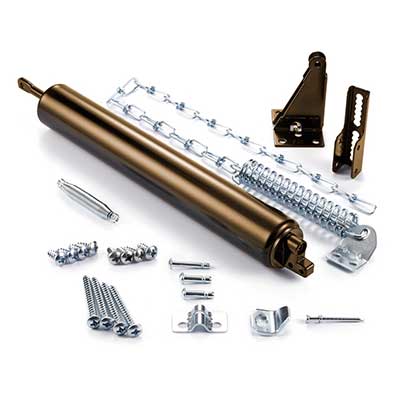
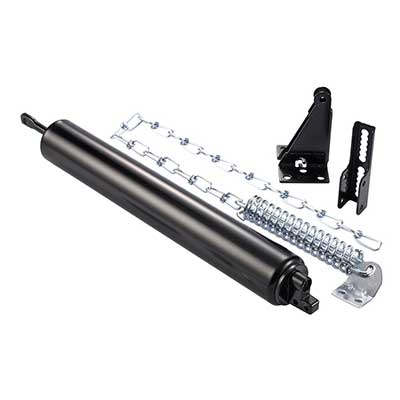
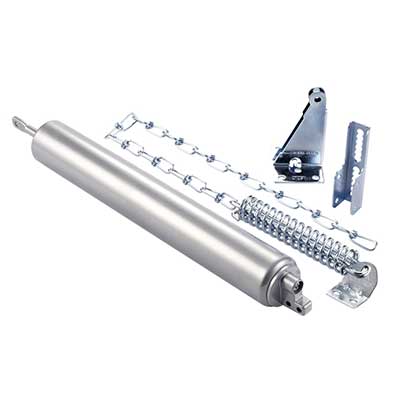
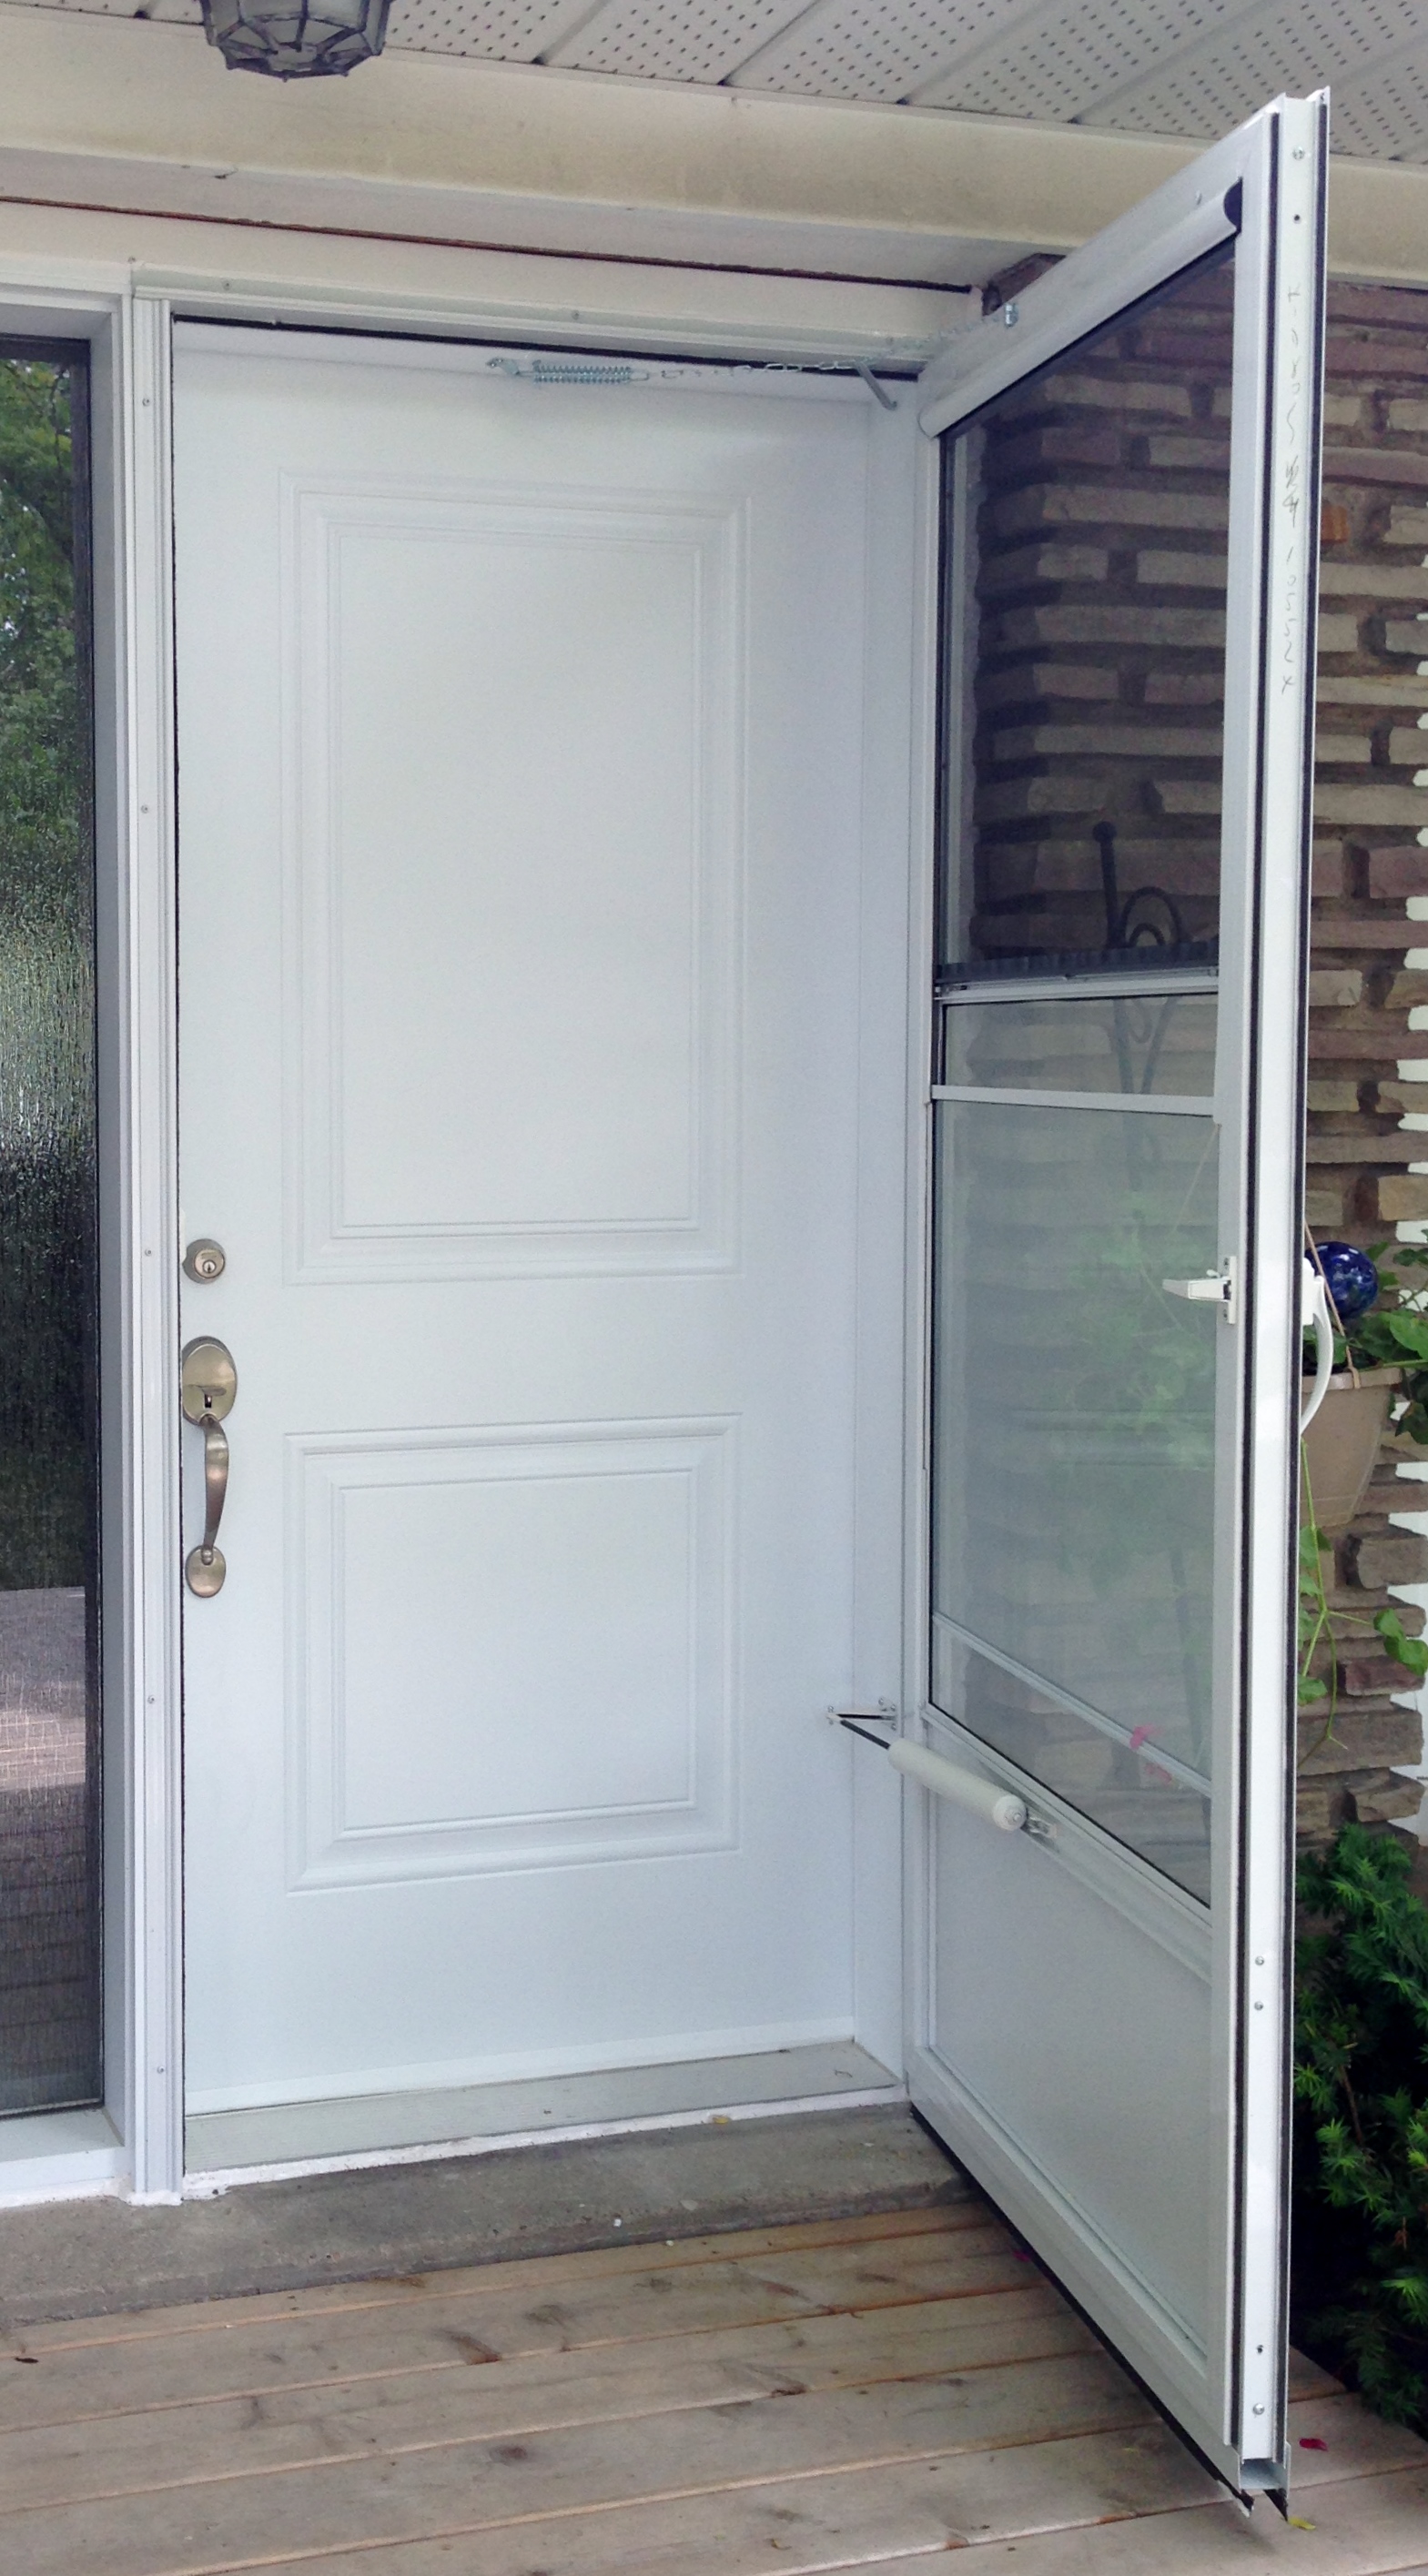
Heavy Duty Door Closer with Chain & Wide Jamb Bracket
Screen

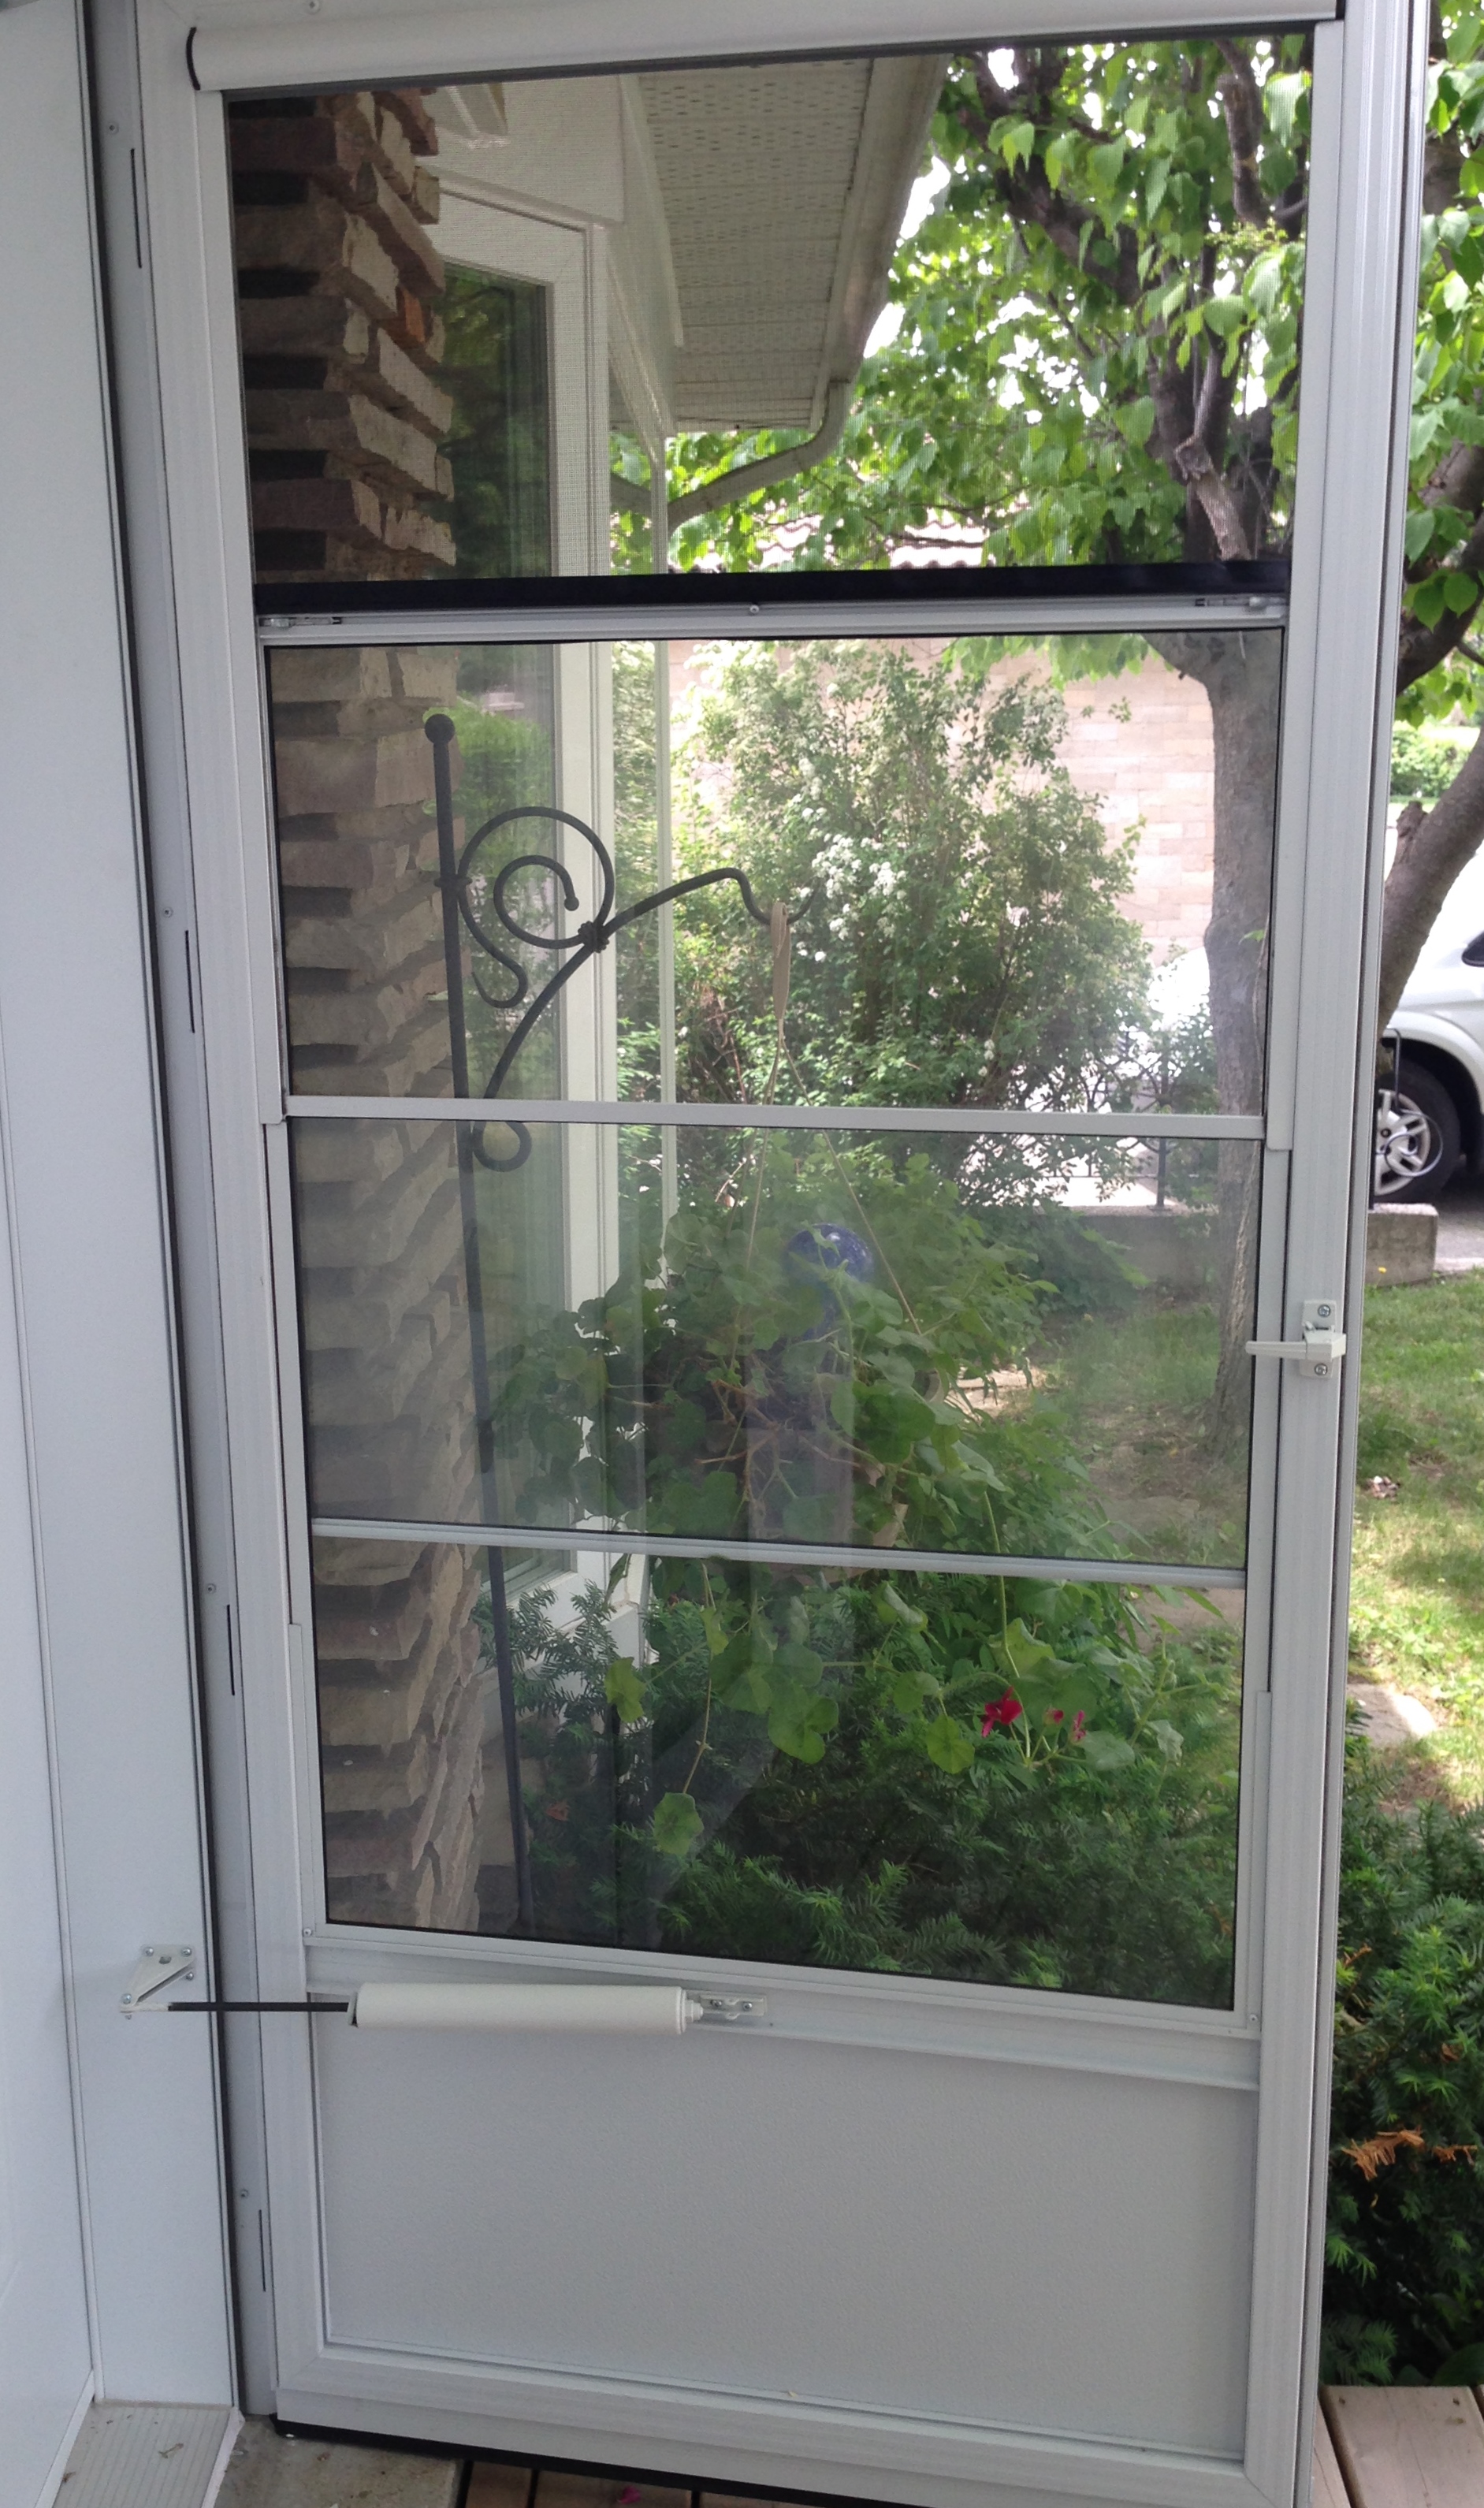
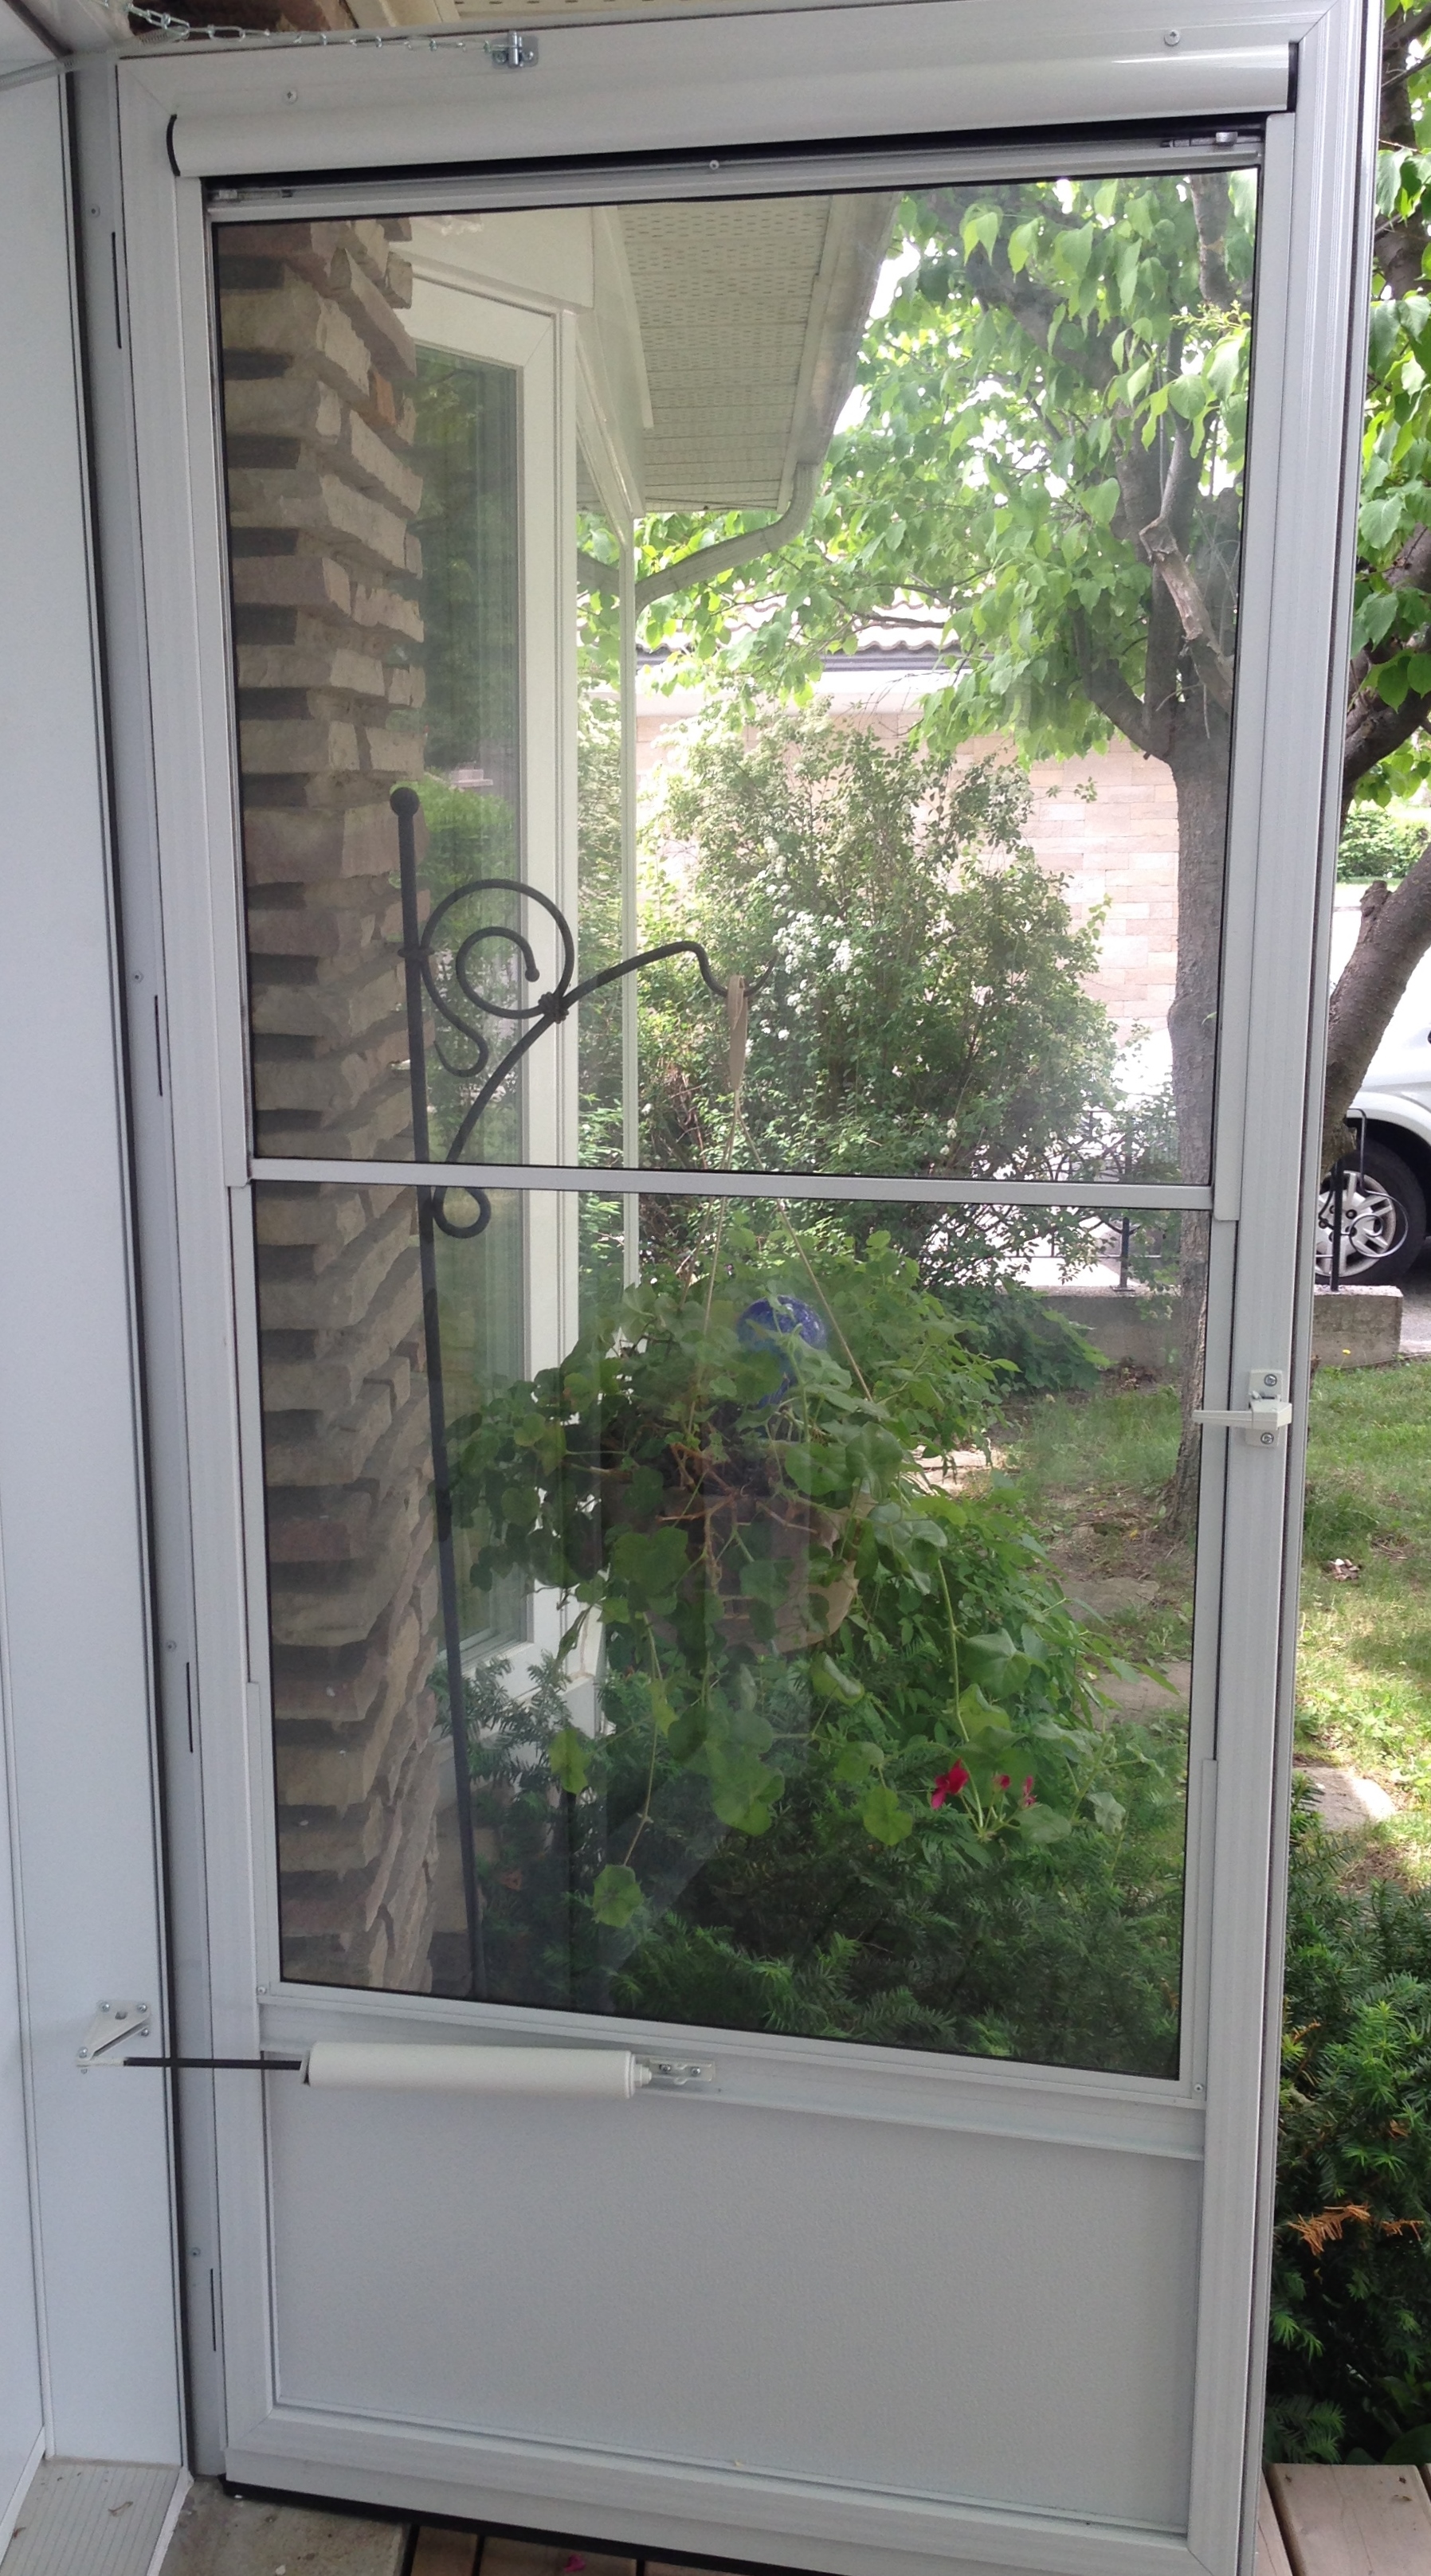
Retractable Screen
The HIDDEN VENT retractable screen is designed to give you a clear view when closed and allow for ventilation when opened.The HIDDEN VENT keeps your screens clean and makes cleaning the glass a breeze. The screen is located in an enclosed cartridge on the top off the glass area.The screen is connected to the operating sash and when the glass is lowered, the screen follows. When the glass is raised to the closed position the screen retracts out of sight back into the cartridge.
Setup
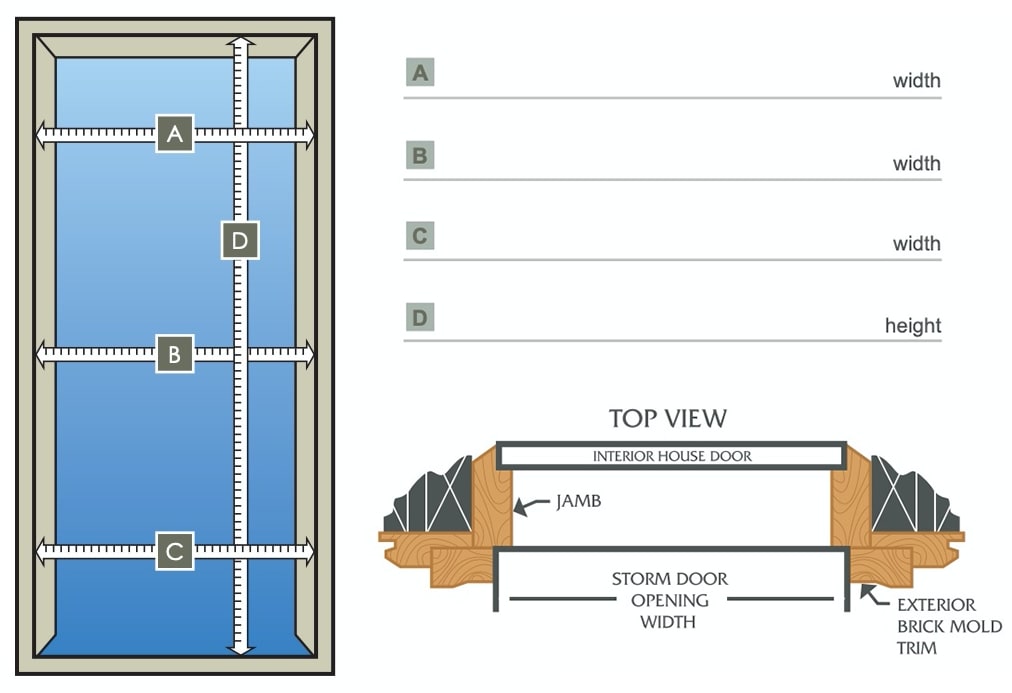
How to Measure Your Storm Doors
How to Install Pull Handles
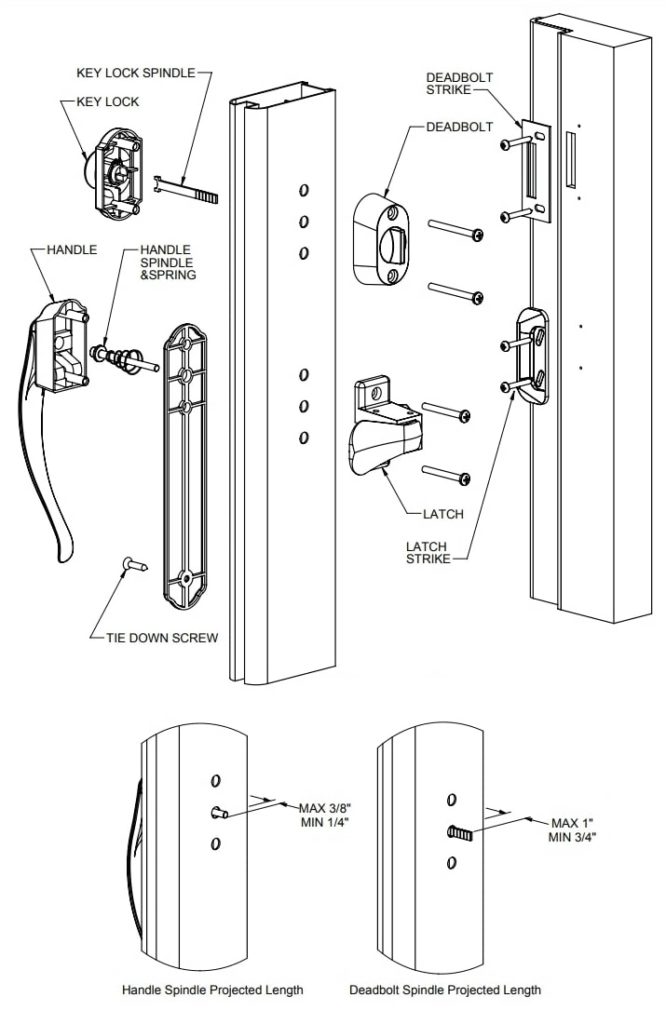
How to Install KEY LOCK & DEADBOLT
- Insert the flat spindle into the back of key lock. Ensure spindle bottoms into key lock. (If your door thickness is not standard then: The spindle should project through inside of door a max of 1″ and min of 3/4″. Cut off the spindle beyond that length.)
- Place key lock on outside of door.
- Place deadbolt on inside of door, fasten with two machine screws. Do not over tighten screws.
- Place the strike for deadbolt on jamb, align with pilot holes on jamb, fasten with two tapping screws.
How to Install HANDLE & LATCH
- Arrange handle, housing, and backplate as shown.
- Place spindle & spring in between housing & backplate.
- Place the outside handle assembly (from step 1&2) on door. (If your door thickness is not standard then: The spindle should project through inside of door a max of 3/8″ and min of 1/4″. You may have to cut off spindle.)
- Place the latch on inside of door, fasten with two machine screws. Do not over tighten screws. Fasten the backplate with the tie down screw.
- Place the latch strike (use shim if required) on jamb, aligning with the pilot holes on jamb, fasten with two tapping screws.
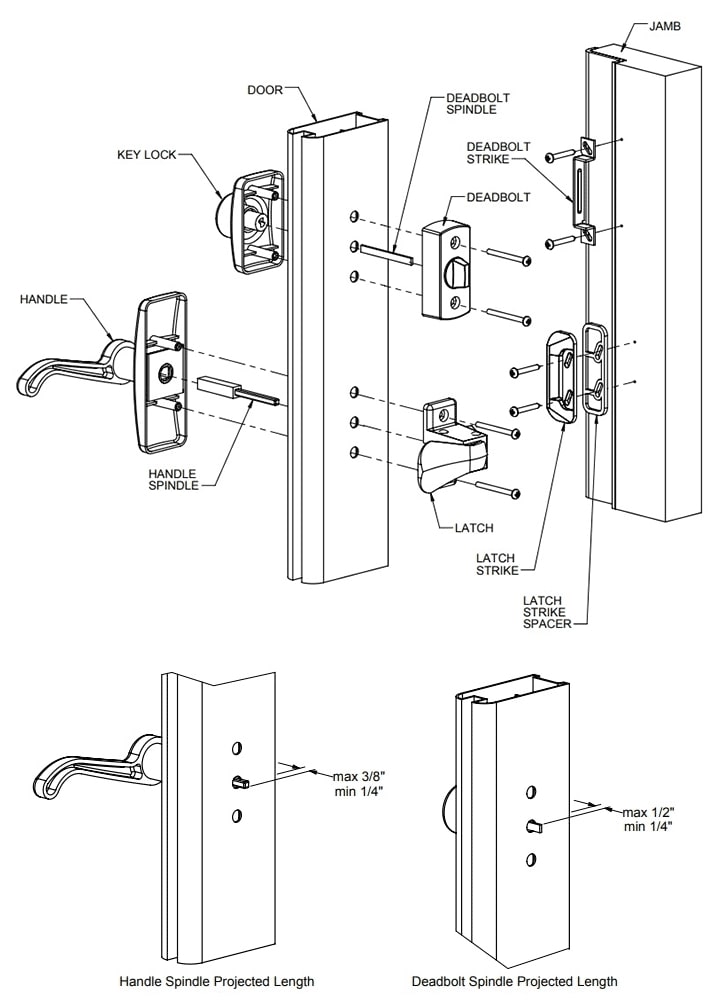
How to Install Lever Handles
Key Lock & Deadbolt Installation
- Place the key lock on the outside of the door and hold it in place temporally by hand.
- Insert the pre-prepared flat spindle (see page 3) from the inside through the center hole into the keylock; ensure the spindle is fully inserted. (If your door thickness is not standard then: The spindle should project through inside of door a max of 1/2″ and min of 1/4″. Cut off the excessed portion of the spindle.)
- Place the deadbolt on inside of the door, align the center hole carefully with the spindle, fasten with two machine screws pre-selected (see page 3). Do not over tighen screws.
- Place the strike for the deadbolt on jamb, align with pilot holes on jamb, fasten with two tapping screws.
Handle & Latch Installation
- Rotate the outside handle to the left or right according to your door handedness.
- Insert the pre-selected handle spindle (see page 3) into the center hole of the outside handle from the back side of the handle housing; ensure the spindle is fully sitted into the hole. The spindle locks the handle in place.
- Place the outside handle assembly on the door. (If your door thickness is not standard then: The spindle should project through inside of the door a max of 3/8″ and a min of 1/4″. You may have to shorten the spindle.)
- Place the latch on the inside of the door, fasten with two machine screws pre-selected (see page 3). Do not over tighten screws.
- Place the latch strike and the thick spacer against the jamb (the spacer shall be placed in between the strike and the jamb), align with pilot holes on jamb and fasten with two tapping screws.
What Customers Say
 Mariani Family,
Etobicoke,
door installation
Tatiana and Michael,
Oakville,
window installation
Mariani Family,
Etobicoke,
door installation
Tatiana and Michael,
Oakville,
window installation
 Pierre Cowan,
window-door installation
Ranjot Badesha,
window installation
Pierre Cowan,
window-door installation
Ranjot Badesha,
window installation


Get a Free Quote
Complete the form below to request a complimentary in-home quote.
Your quote includes:
Call now or submit form below:
"*" indicates required fields
Your appointment will be confirmed within 2 hours during regular business hours.
